The router engine is deprecated. To read about our current vehicle routing engine documentation start reading here.
This how-to guide assumes you already completed the steps described in the 5-minute getting started experience. To test that the Nextmv CLI is correctly configured, you can optionally run the following command on your terminal. It will get some files that are necessary to work with the Nextmv Platform. You can see the expected output as well.
The route package exposes the router engine. The Nextmv router is a convenient, simple interface for solving various types of vehicle routing problems (VRP) and single vehicle problems (commonly known as the traveling salesman problem, TSP).
router employs a hybrid solver with two search strategies: ALNS and Decision Diagrams. router receives a set of stops that must be serviced by a fleet of vehicles and a list of options to configure. Several default options are provided, such as measures, to make routing problems easier to solve. router returns routes for each vehicle, a list of unassigned stops (if any), and search output statistics. In this guide, you will learn how to use the Nextmv router with a practical example.
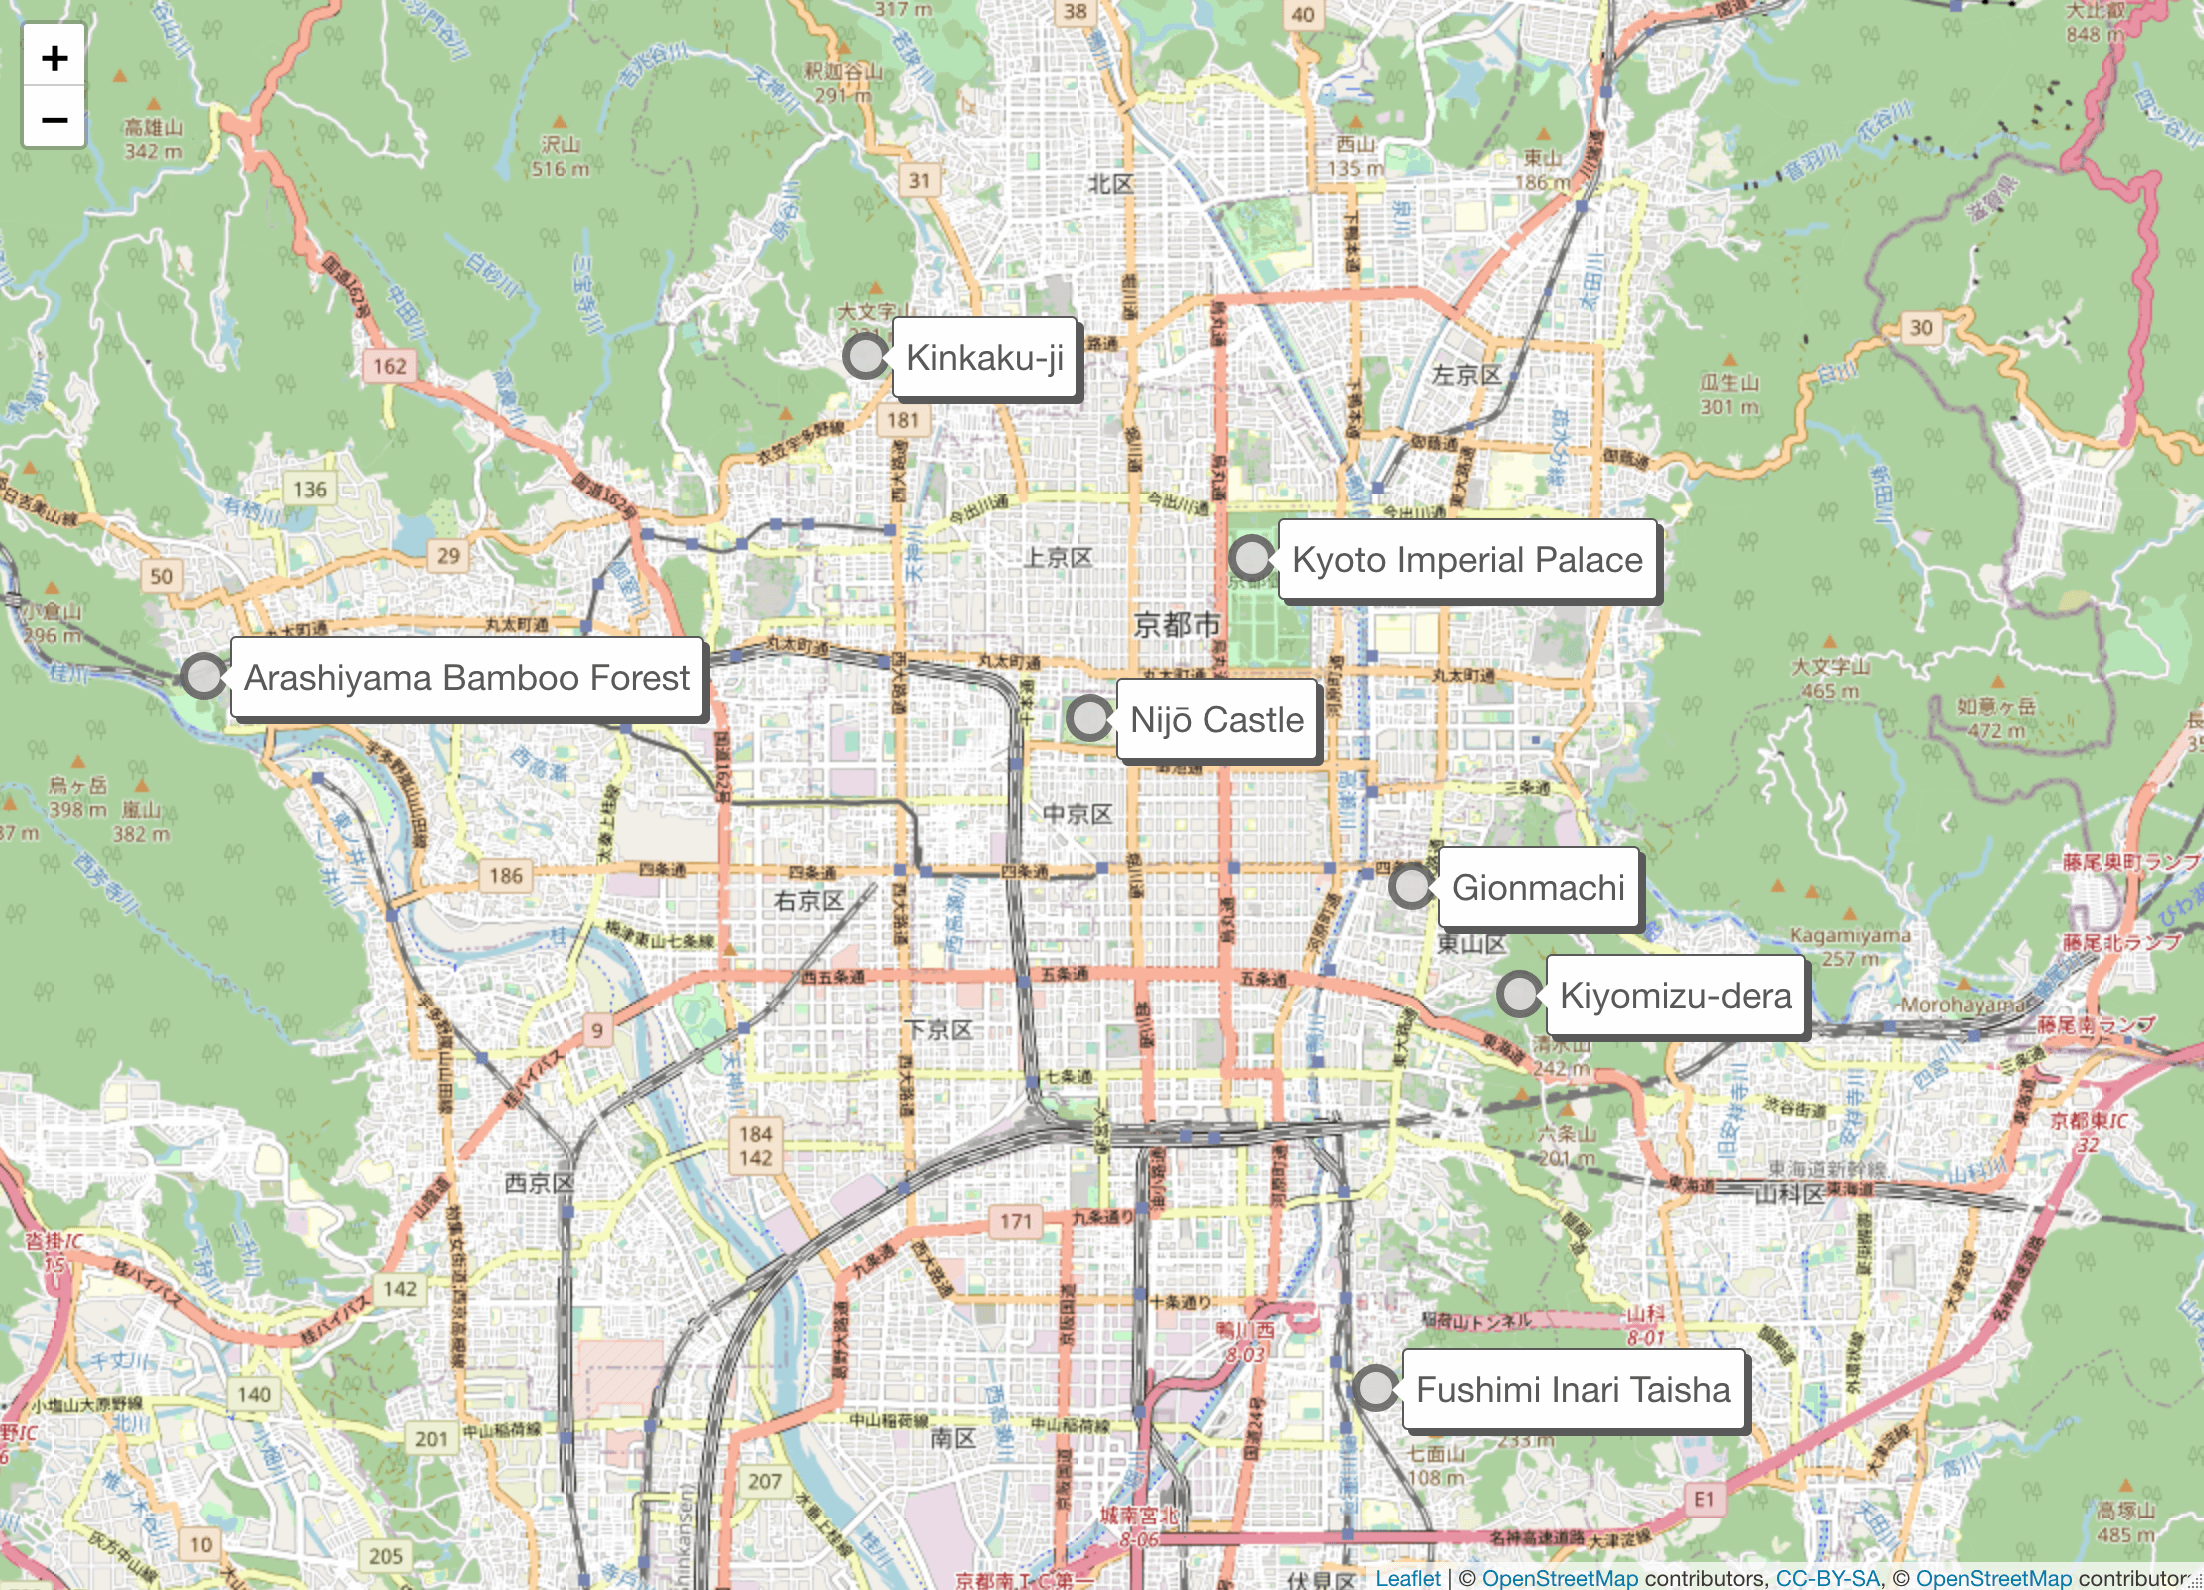
This example aims to create routes to visit seven landmarks in Kyoto using two vehicles.
To start working with the router engine you can use the Nextmv CLI to initialize a ready-to-go routing template. However, this guide outlines the very basic steps of working with router and creates a routing program from scratch.
Somewhere in your computer, create a Go module called router. You should obtain an output similar to the one depicted.
Now add the Nextmv SDK to your dependencies. You should observe the latest version being pulled as part of the output.
You should now have a go.mod file that looks like this:
Save the following information in an input.json file.
To proceed with running the example, create a main.go file and use the code snippet below.
Note that the Threads option is used to avoid randomization and obtain consistent results. It may produce sub-optimal solutions and should be used mainly for testing.
Your application should roughly contain this structure:
To execute the example, specify the path to the input.json file and your output.json file using command-line flags. Limits are also specified for the solver duration and diagram expansion.
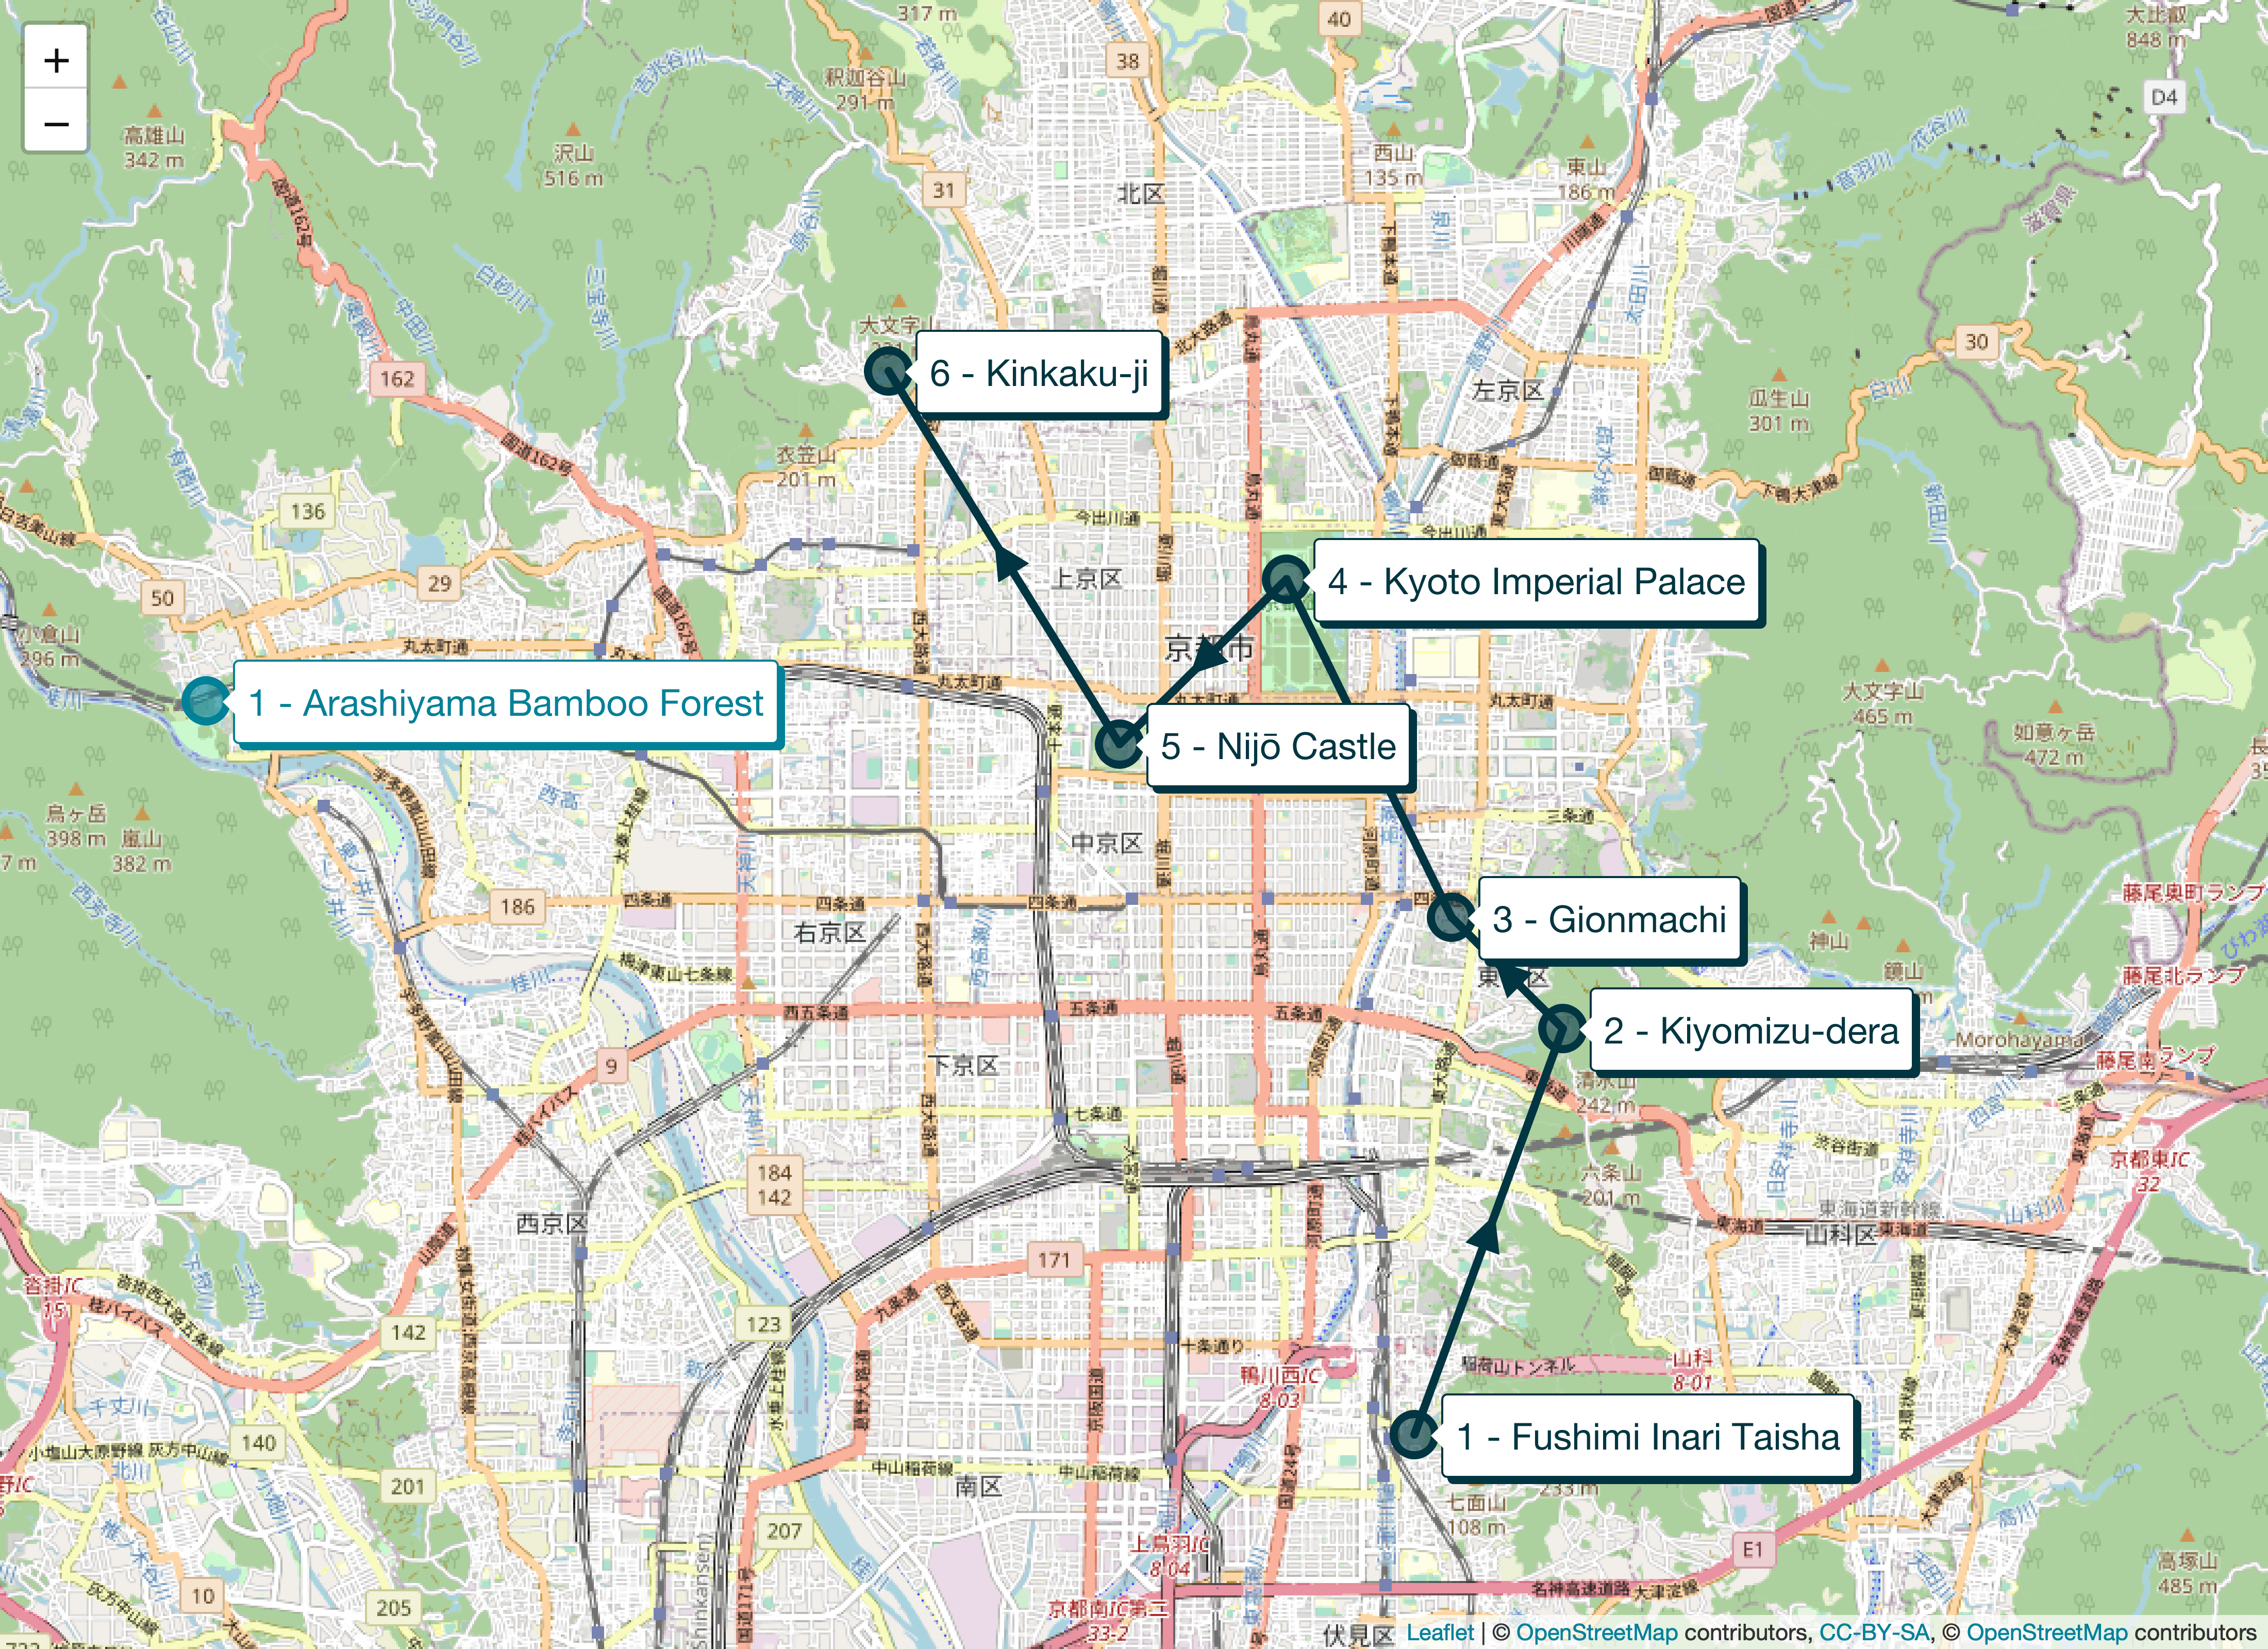
The solution should look similar to this one:
You can see that one vehicle has six stops assigned and the other just a single stop, which is the farthest from the others. Note that transient fields like timestamps, duration, versions, etc. are represented with dummy values due to their dynamic nature. I.e., every time the input is run or the version is bumped, these fields will have a different value.
See the guide on how-to use router engine options for additional options that can be added to extend this basic example. For further understanding of how the router engine works as part of the route package, check out the technical reference.