Nextmv has a Marketplace for pre-built decision apps that solve problems in specific domains like vehicle routing or shift scheduling. Anyone on Nextmv can subscribe to these applications and get instant access to all the features of that app. Subscription apps can be used as starting points for custom apps by initializing the app the subscription app is based on. These apps are published and maintained by Nextmv.
Here are some examples of subscription apps:
Nextmv Routing. Solves vehicle routing problems.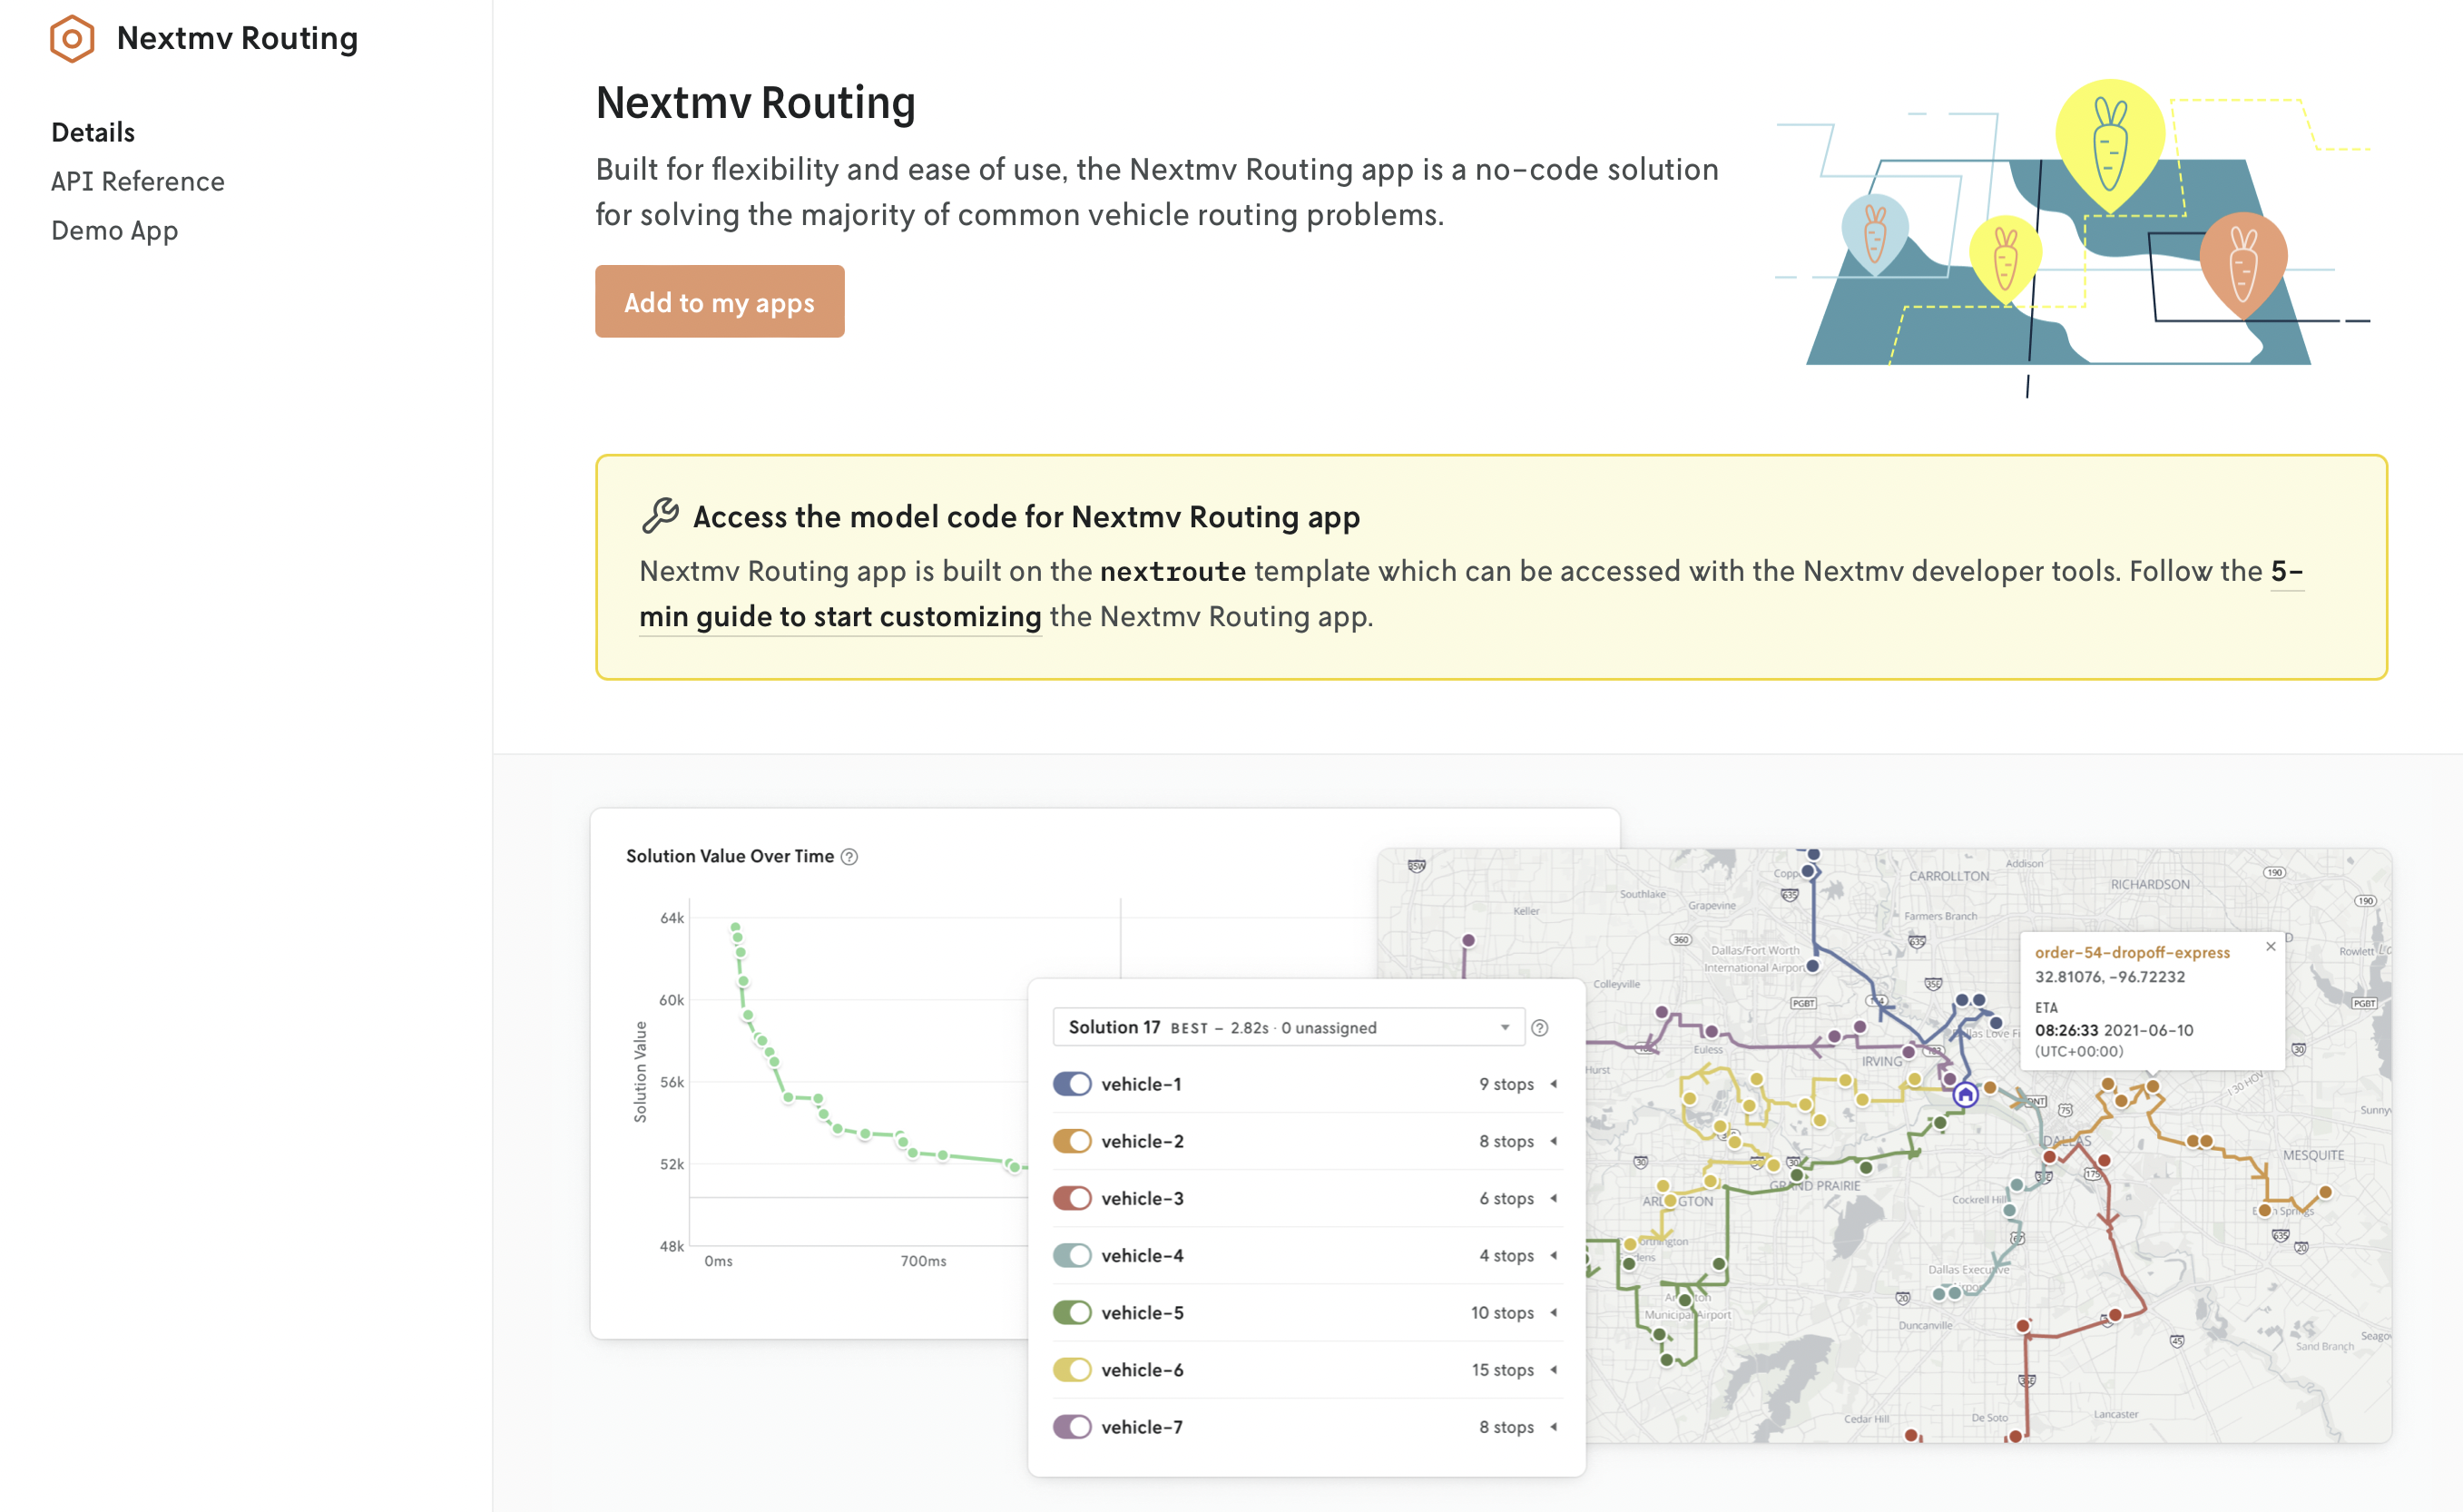
Nextmv Shift Scheduling. Solves shift scheduling problems.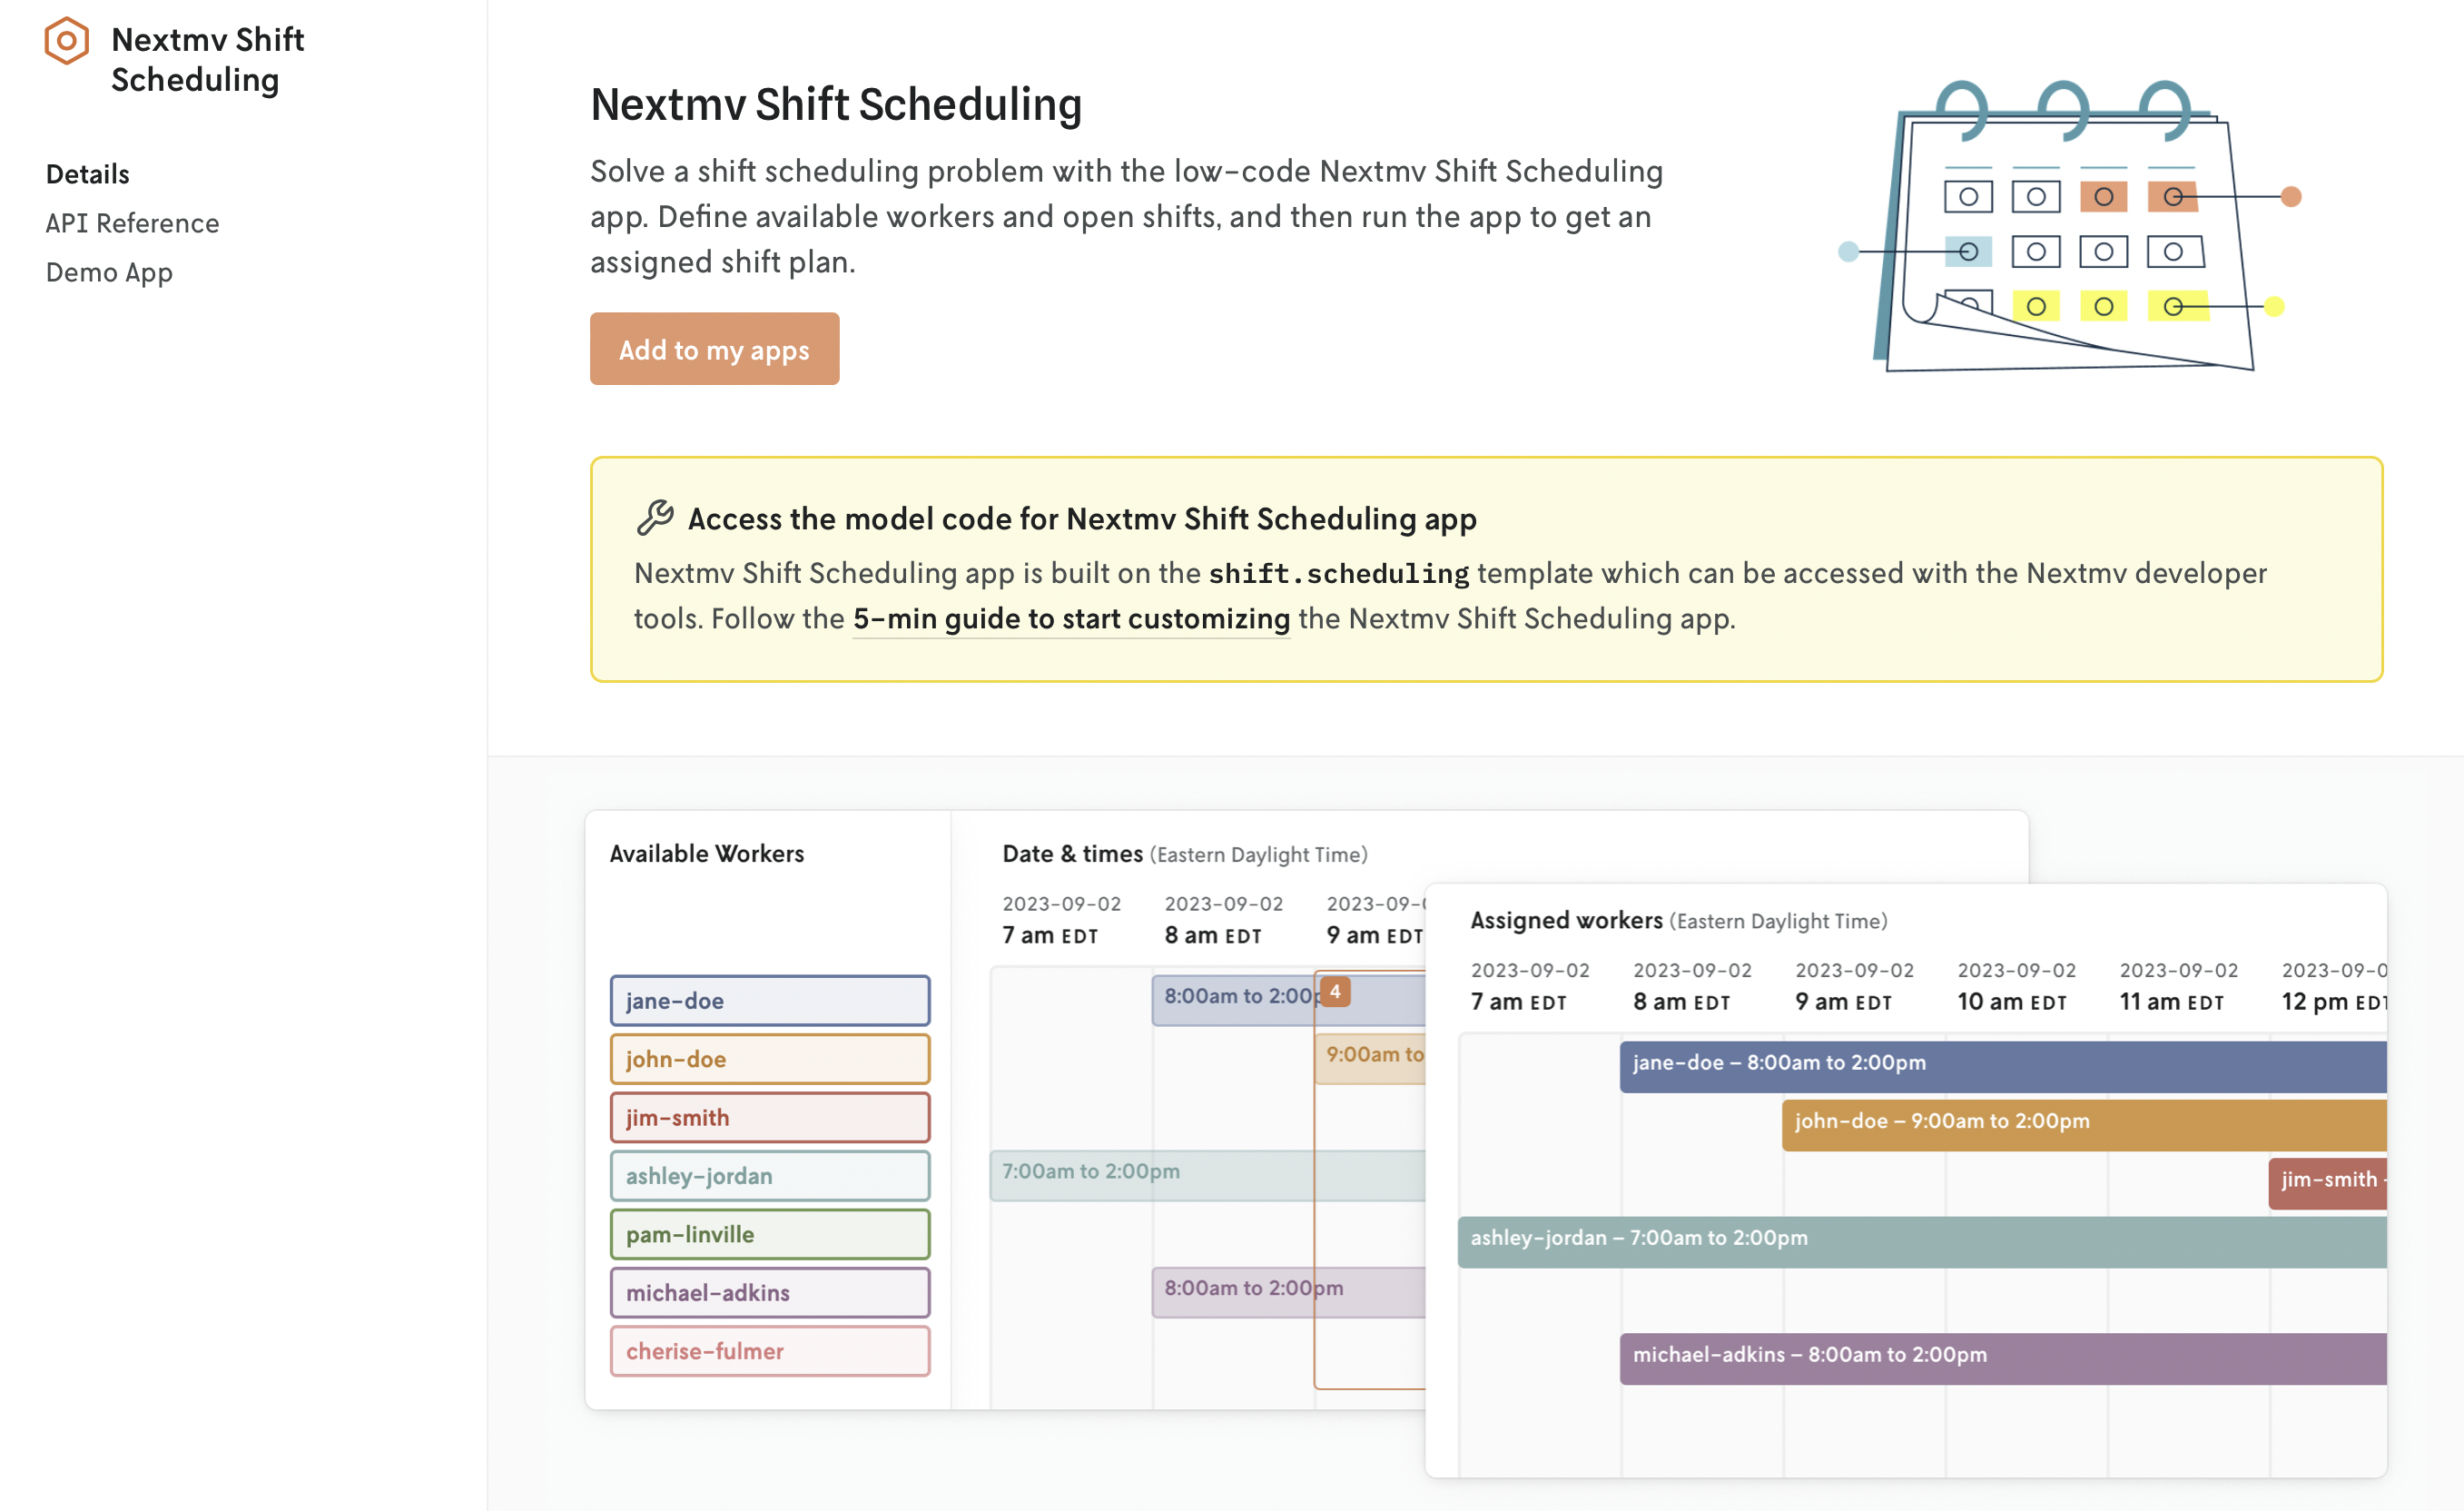
When you subscribe to a Marketplace app, it is automatically deployed and available for use.
Subscription apps are based on community apps. If you need to customize your subscription app, you can start from the corresponding community app.
Subscribe
Deploy an app by subscribing to it in the Marketplace. In this example we are subscribing to the Nextmv Routing app.
To subscribe to an app, define the desired app ID and name. After, you can use one of the following interfaces:
Console. Go to Console,
Marketplacesection. Click on the app you want to subscribe to. Click on theAdd to my appsbutton and fill in the fields.
Nextmv CLI. Anywhere on your machine, run the following command to enable the desired subscription on your account:
The --subscription-id is formed by joining partner_id-id for a Marketplace app. Note that this command should only be run once for each subscription.
Different Marketplace apps have different subscription IDs. You can find a list of available Marketplace apps by running the following command:
For example, to subscribe to the nextroute marketplace app, you specify the flag as --subscription-id nextmv-nextroute.
Once the subscription is enabled on your account, you can create an app that is subscribed to the marketplace.
🎉🎉🎉 The app is ready to be used.
- Run the app remotely: learn how to run your subscription app in Nextmv Cloud.
- Experiment and test: learn how to experiment and test your subscription app.
Delete a subscription app
Delete a subscription app using the following interfaces:
- Nextmv CLI. Anywhere on your machine, run the following command:
Cloud API. Export your
NEXTMV_API_KEYas an environment variable. The API uses Bearer Authentication.DELETEhttps://api.cloud.nextmv.io/v1/applications/{application_id}Delete application.
Delete application, specified by application ID.