

Where does that input file live? How do the metrics compare for the last two runs? Do you have a visual I can share with the team from the latest model run? Finding the answers to these questions while working on your model code can often feel like a treasure hunt, but it doesn’t have to!
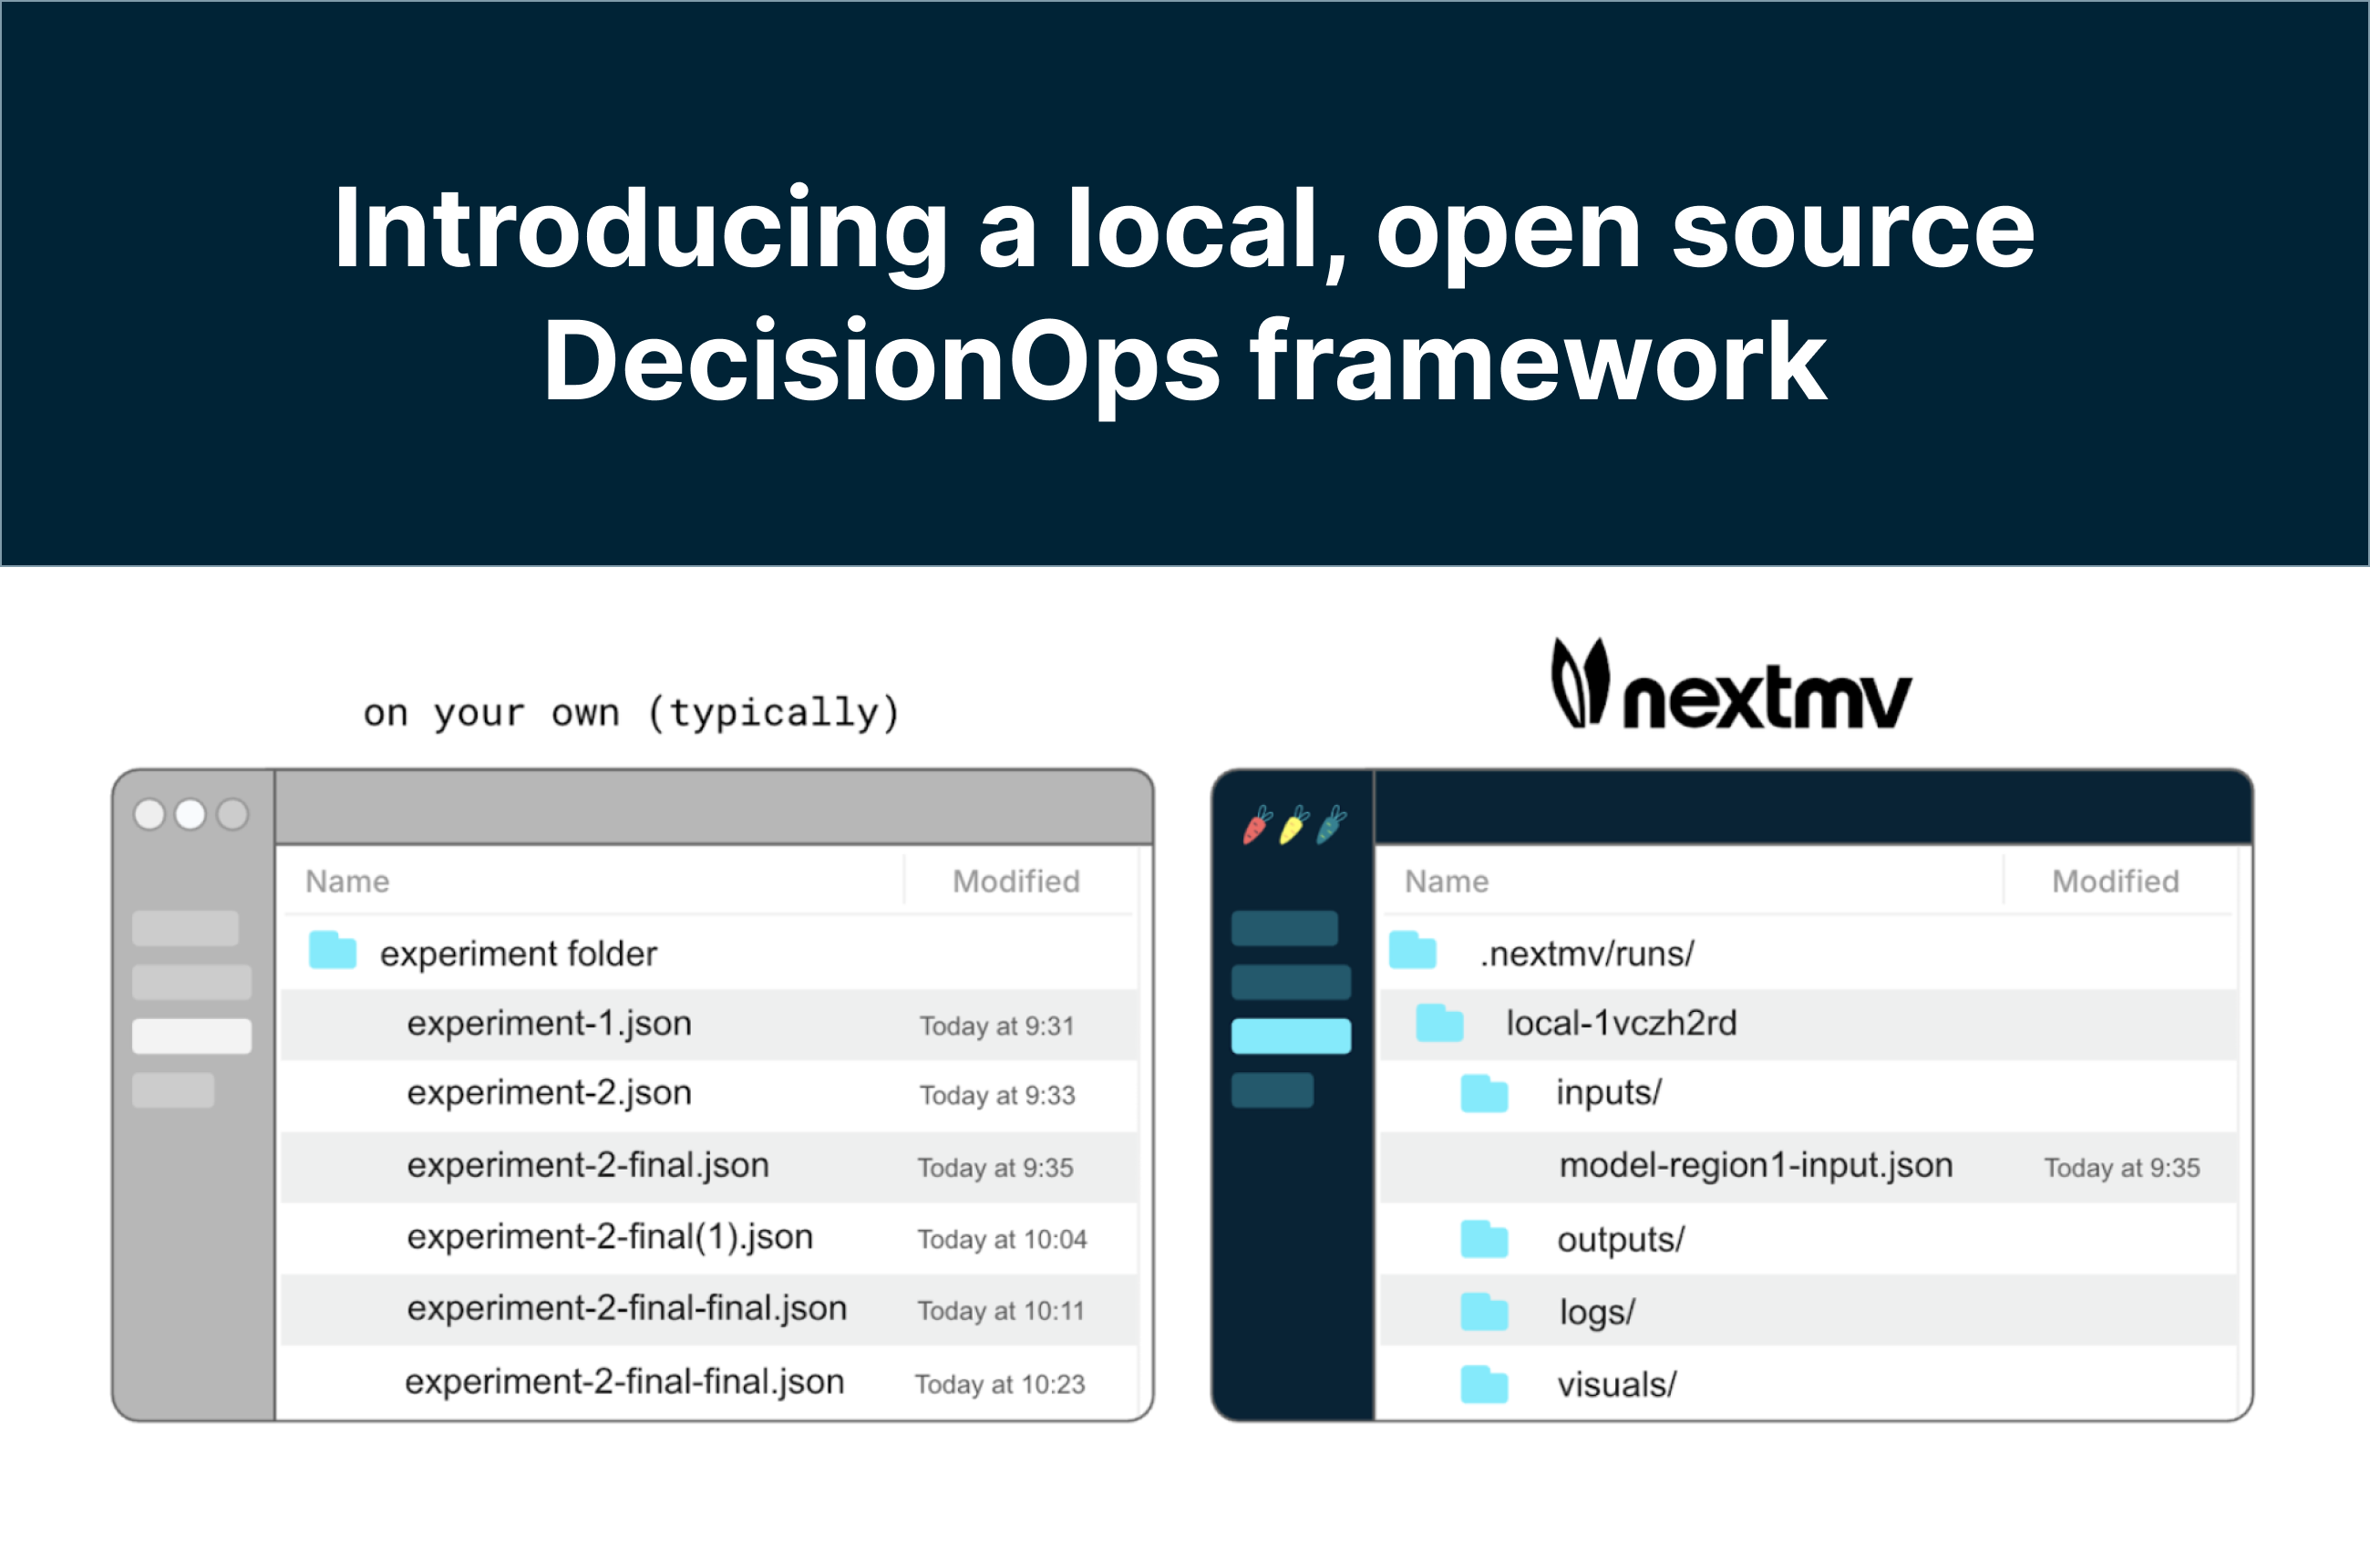
Introducing a local, open source version of the Nextmv DecisionOps framework for more efficient development and management of optimization projects. Designed for anyone working with optimization models (specifically open source project contributors, academics, and small or solo decision science teams), this free Nextmv experience allows users to organize their projects as decision apps, manage run assets, experiment more effectively with custom statistics and metrics … all locally on your machine.
Let’s take a look!
Local DecisionOps with Nextmv
DecisionOps is like MLOps for optimization, standardizing the decision modeling proces to streamline steps from development and experimentation to deployment and management. Such a workflow accelerates model development and builds trust and confidence in your work. Ultimately, your project will be running on remote infrastructure, but that's not where your work usually begins. The Nextmv local experience provides useful aspects of DecisionOps aligned with local development.
Model and file organization. Whether you’re managing one model or many, keeping them organized can be challenging. Experiment runs can be hard to parse. Output files may overwrite each other. Visuals are saved in hard-to-find folders. The Nextmv local experience solves this with pre-defined folder structures that organize files and assets by model run.
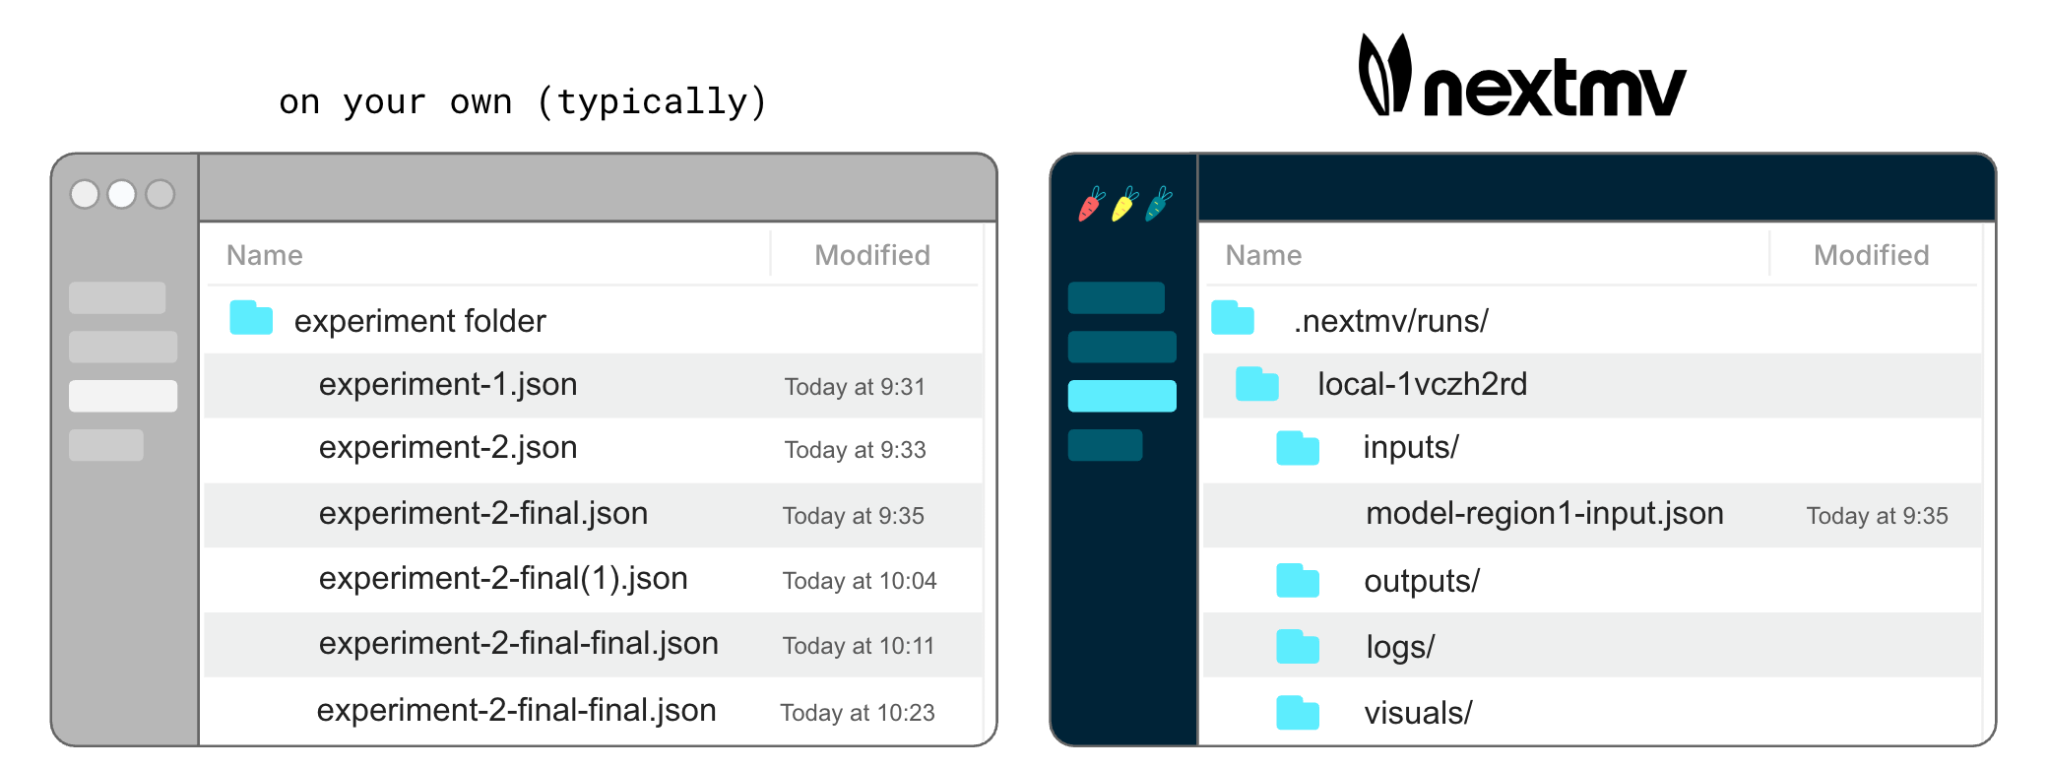
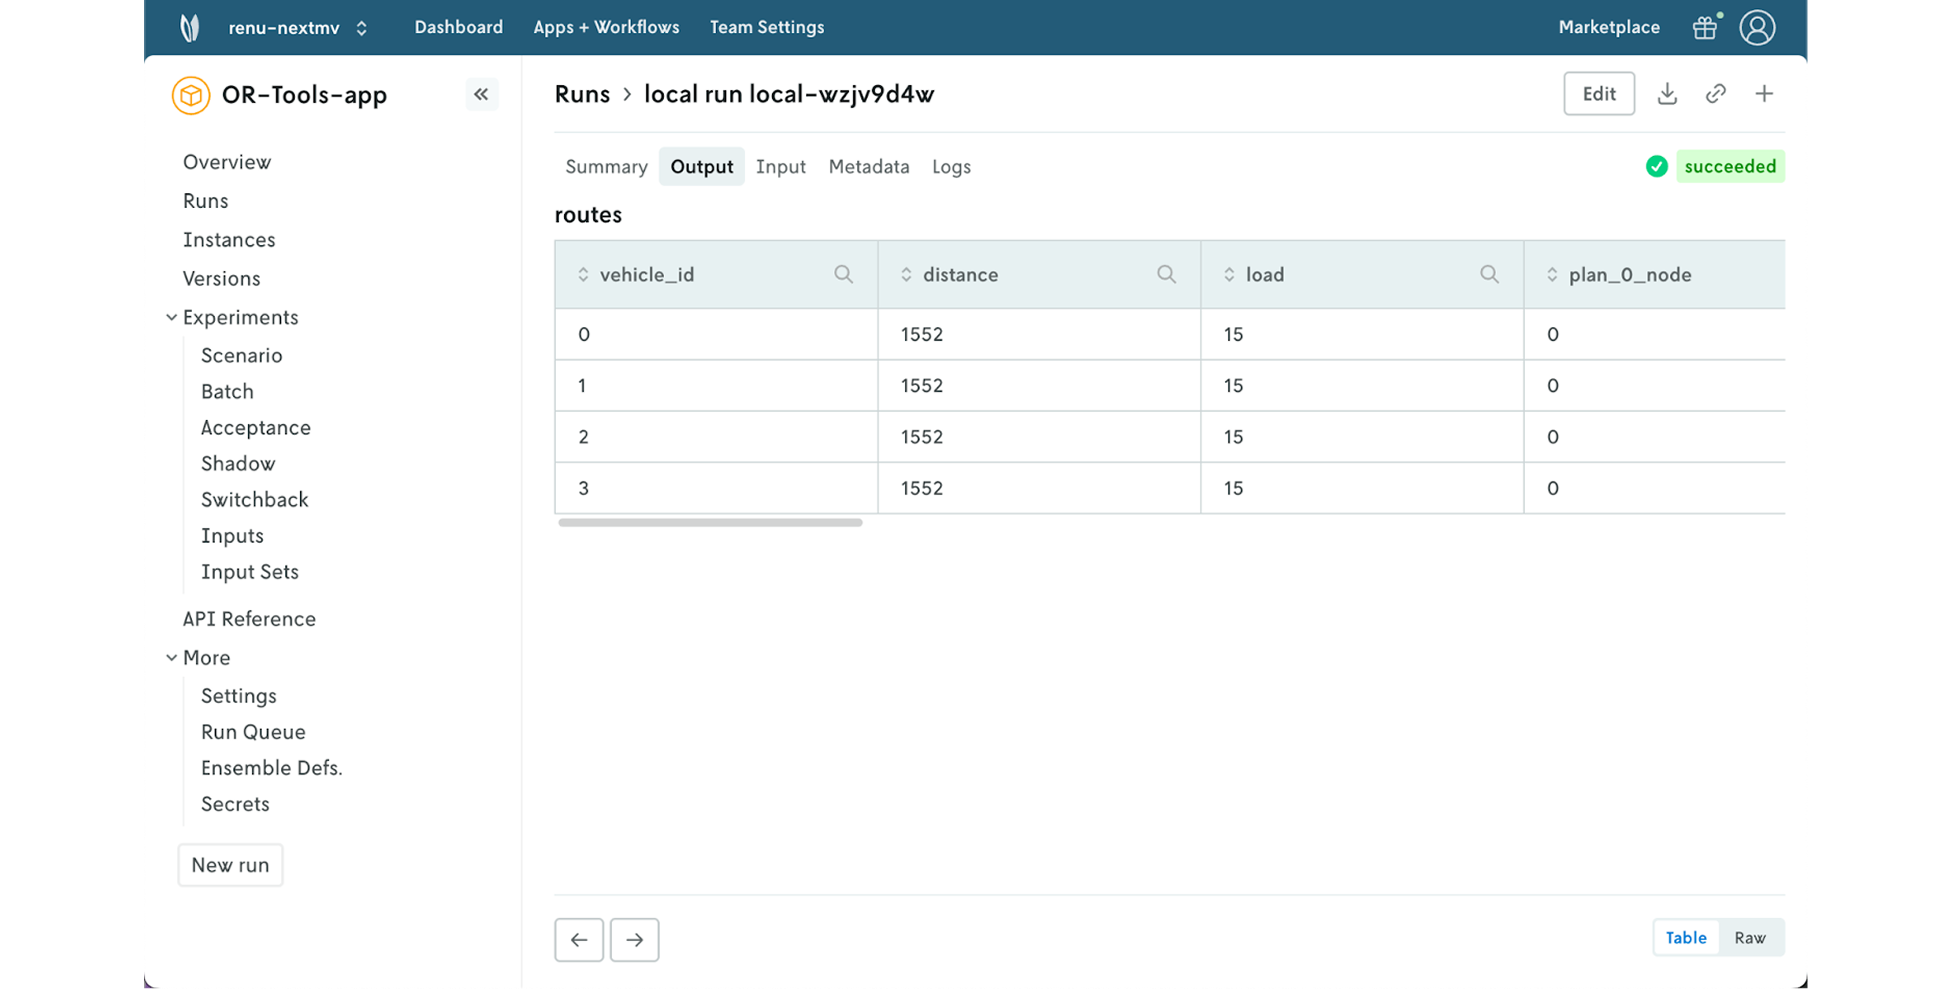
Run management. When you run your model with Nextmv, each run has a unique run ID. You can see all of your runs (and their details) listed out underneath each model (decision app) and easily manage I/O per run, review logs, and attach visual assets.
.gif)
Streamlined local experimentation. Create and track the run statistics that matter to you per run. Quickly find the metrics you want to compare and share the results with stakeholders by inviting them to your shared workspace on the Nextmv platform.
.gif)
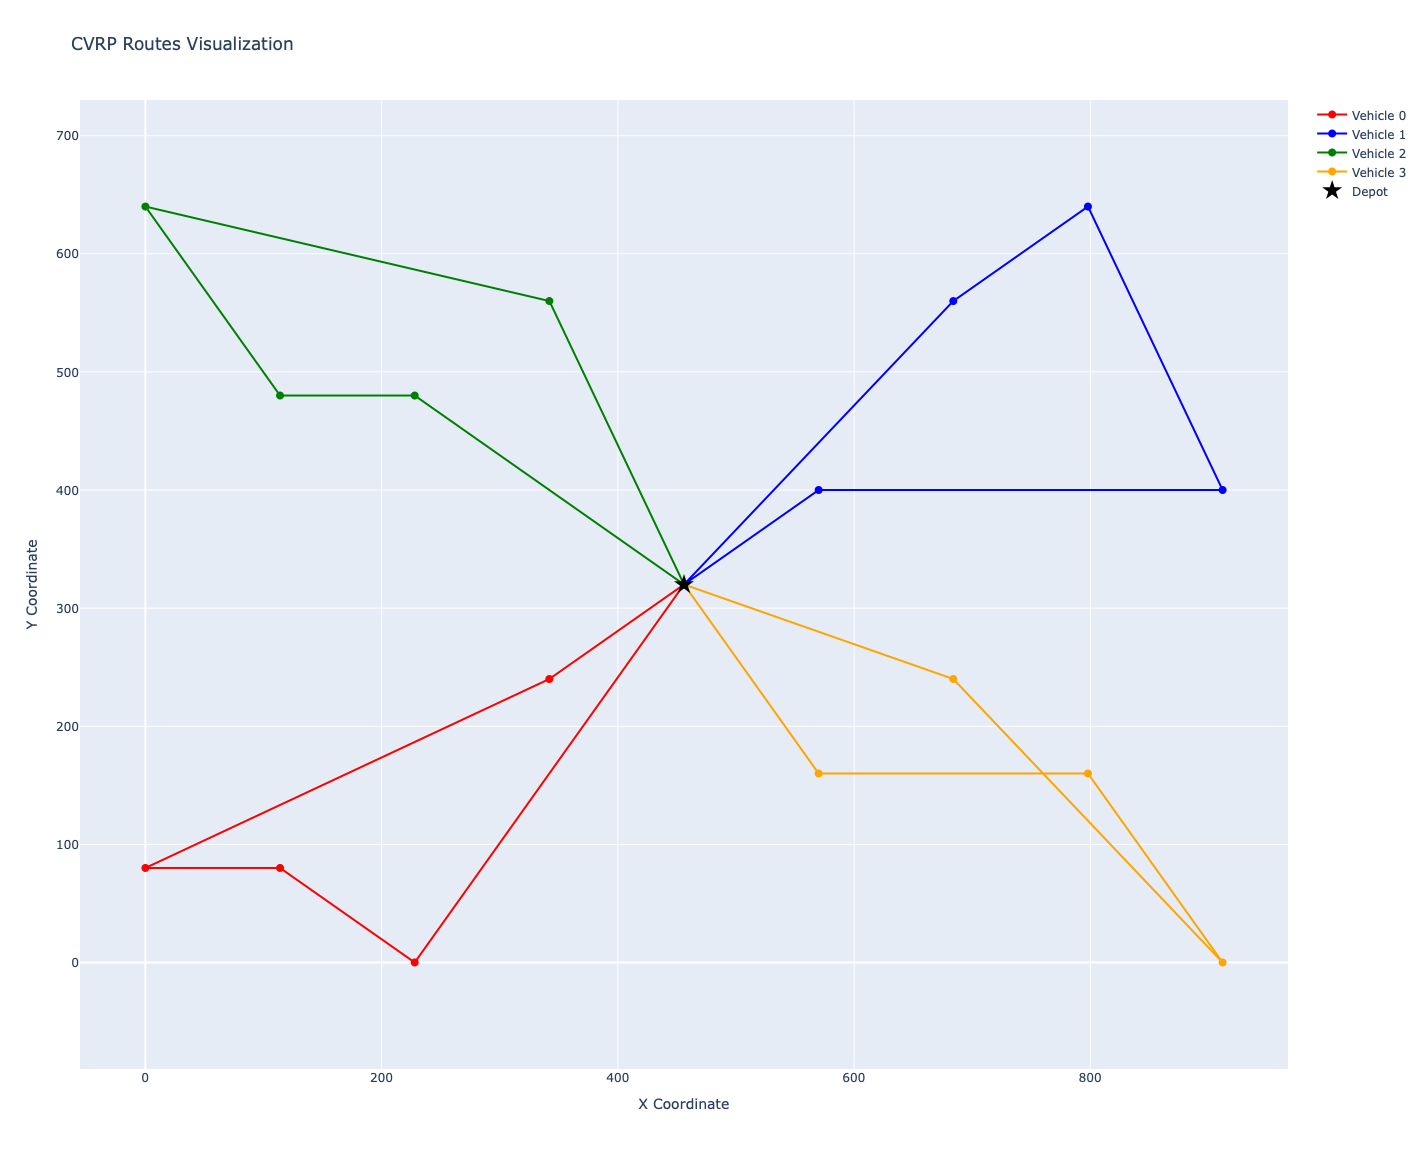
Create and manage visual assets. Use tools like Plotly and GeoJSON to build visual assets that render with each model run. Easily find them in each runID folder so you don’t have to hunt them down on your desktop.
Sync to Nextmv Cloud. Create a free Nextmv account and sync your local runs to your account to view your run history in the Nextmv UI.
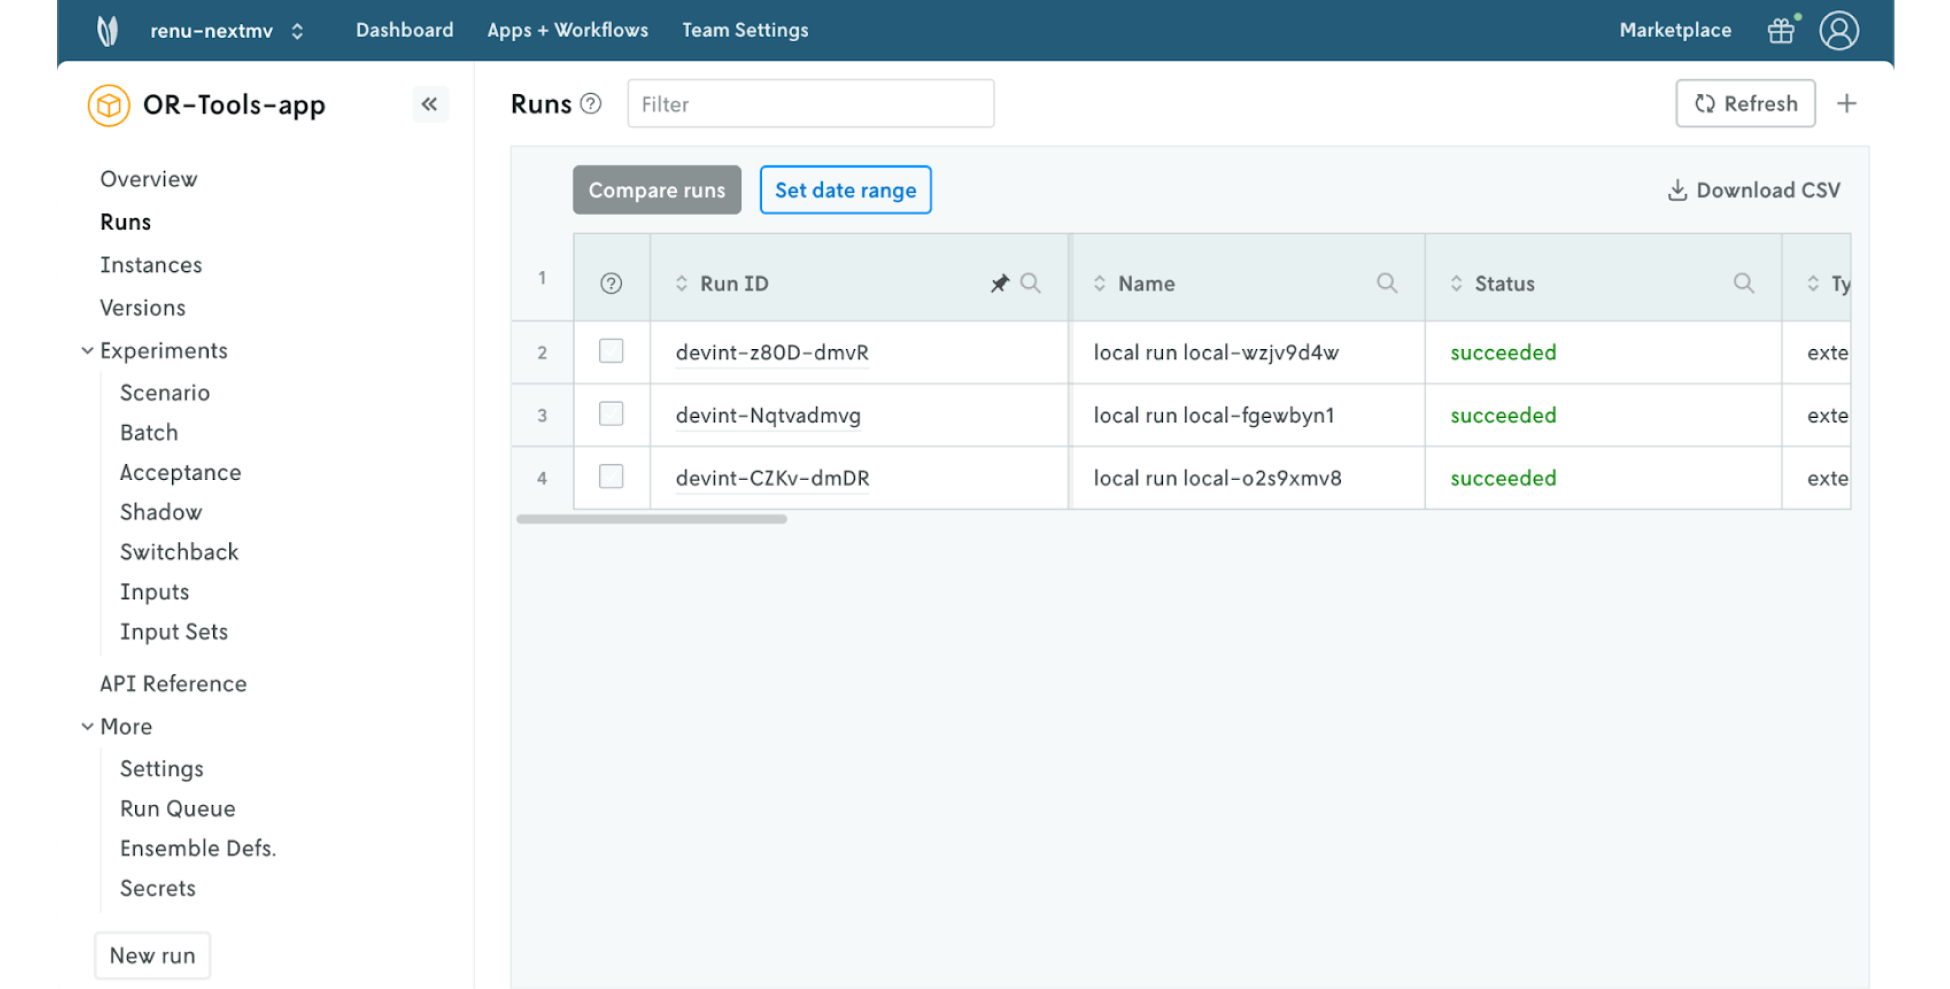
Click into individual runs to see details like input, output, metadata, logs, and visualizations.
Try it out
For the full experience, visit the Nextmv docs. Below is a shortened tutorial for getting started with a new local decision app.
Install Nextmv:
Create a script, which you can name app.py, or use a cell in the Jupyter notebook. This script will:
- Initiate a local application
- Provide an input
- Start a run
- Return the results
Copy and paste the following code, making sure you use the correct app src:
Run the script, or notebook cell, and you should see an output similar to the following:
What just happened? You created a local decision app with the following folder structure:
Sync runs to Nextmv Cloud. Create a free Nextmv account. In the Nextmv UI, navigate to “Settings” then “API Keys”. Copy that API key to use in the next step.

Create a cloud application using the following script.
Sync local application to Nextmv Cloud using the following script:
Get started with DecisionOps today
It’s never too late or too early to bring structure and organization to your OR projects.
Head to the docs to install Nextmv and get started with the local experience.
From there, you can sync runs to the Nextmv platform to see your model’s run history in an interactive UI. Interested in running your model remotely and using experimentation features? Push your model to Nextmv to get access to the full DecisionOps platform.


